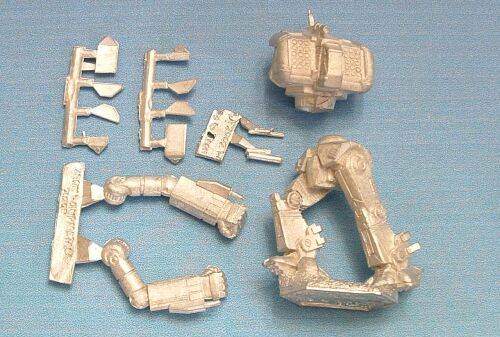
| The lower leg/torso assembly is plenty stable as-is, so
attaching a hexbase right away is not necessary. In fact, I don't
recommend it until the very end. Epoxy the upper torso in place and
use a wad of putty to hold it for 30 minutes. |
 |
| At this point I decided that I did not want to mess around
with trimming down the antenna and whatever that other piece is (we'll
call it a heat sink for the purposes of this guide) and pinning them.
They are molded with enough of a "pin" attached to work. You'll just
need to drill out the holes more than they are currently. I don't
know the exact sizes of the bits used, they aren't labeled. I happened
to have two lying around that matched the diameter of the "starter" holes.
Don't attach the pieces. I drilled now because the bare mini is easy
to hold. |
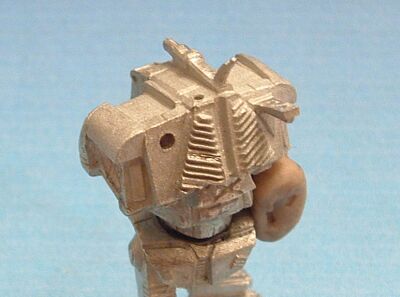 |
| I went with four missile doors right away, holding each
with a tweezers to put them in place. Inside doors first and then
bottom doors. For the inside doors I ran epoxy along the "hinge"
on both the door and torso side and also a little on the center torso where
the door would cover. For the bottom doors I covered the entire "hinge"
surface. Using the toothpick, carefully remove any extra epoxy that
oozes out. Neither set of doors require putty to hold in place so
I let them cure for 15 minutes just like this. |
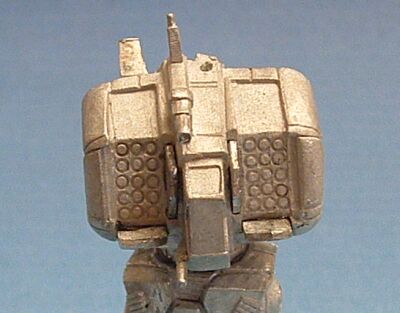 |
| Outside doors were next. I applied epoxy to the "hinge"
on the torso and door side. Using the tweezers again to hold the
doors, I stuck them in place. Again the epoxy was tacky enough that
I did not need putty to hold the doors in place. Remove any excess
epoxy with the toothpick. Allow 15 minutes to cure. |
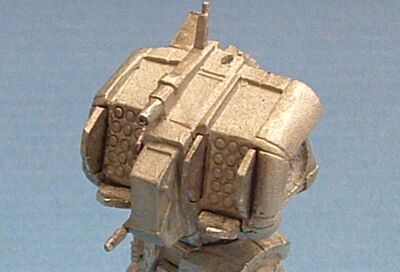 |
| Now for the top doors. I wasn't even going to try
applying them without putty to help. Carefully put a ball of putty
on each launcher face, making sure the very top of the ball is at the same
height for each. Dry fit the doors to make sure they're even and
adjust the putty as necessary. DO NOT MASH THE TOP DOOR INTO THE
PUTTY! The point of the door should rest on the upper most portion
of the putty. It should not hook over or stick in it. If it
does you run the risk of tearing off the door when removing the putty.
Apply a thick bead of epoxy to the torso side if the "hinges". The
area will be covered so it does not hurt having extra epoxy under the doors.
In fact it will help make the doors more stable. Put the doors into
place and allow them to cure for 30 minutes.
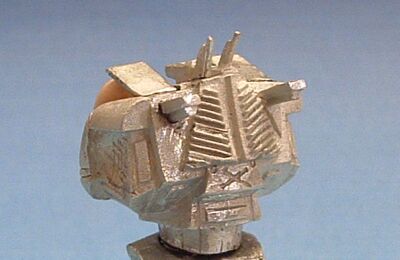
Right about here I decided that that laser barrel beside the cockpit
was too long. I took care of that between the next two steps by cutting
the tip in half and drilling out the end slightly with a #76 bit.
|
 |
| Apply epoxy as best you can into the holes you previously
drilled out for the antenna and heat sink. Apply a little epoxy to
the "pin" on each piece and then insert them into their respective holes.
Remove any excess epoxy with a toothpick and allow 15 minutes to cure. |
 |
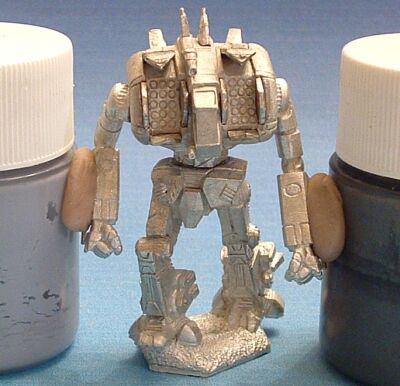
| Pre-position the arms using putty and paint bottles for
support. When you have them where you want them, slide the bottles
out, apply epoxy to the sockets, and slide the bottles back in. You
may have to press gently on the outsides of the shoulders. Allow
at least 30 minutes to cure. |
 |
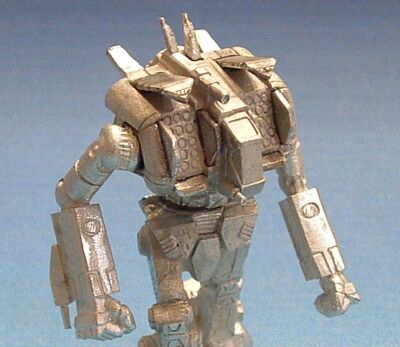
| Here is the finished assembly. You can see the mod
I made to the head-mounted laser. I think it looks closer to the
TRO illustration this way. |
 |
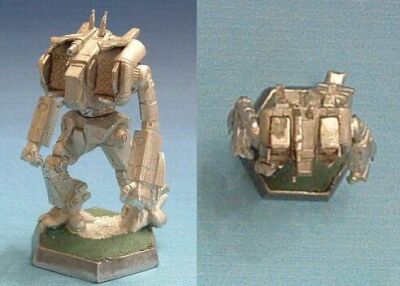
| Now it's time to fit it into a hexbase. If you're
a stickler for "centering" like I am, there is a bit of work to be done.
Though I didn't get a photo I removed a few millimeters from the back side
of the Archer's base, including the area under the foot, with a sprue cutter
and exacto. This allowed the mini to be nearly perfectly centered
in the hexbase rather than perched forward.. (It's one of those little
things that I believe improves the overall look of the finished miniature.)
Once positioned and epoxied into place, I filled the gaps with green
stuff and textured them to match the metal. For texture I coated
the surface with water (to prevent sticking) and pressed sand paper onto
it. |
 |