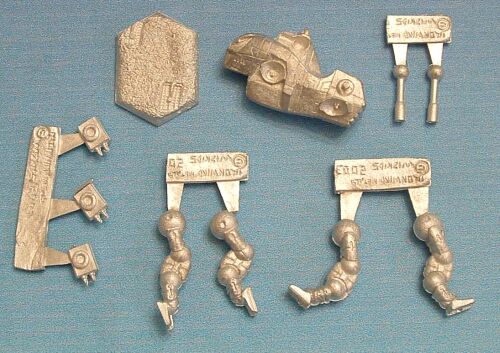
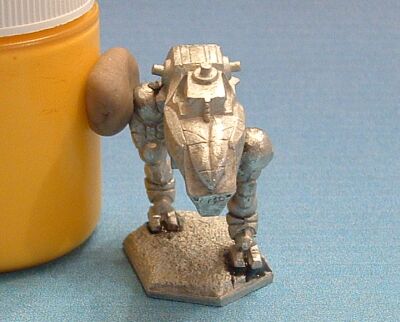
| Assembly of the legs was made easier with small alignment pins in the
hip sockets that match up with holes in the leg side of the joints.
This will tell you if the legs go on the left or right side. For
front to back orientation, it is literally "by the book." They were
sculpted in almost the exact pose as pictured in Technical Readout: 3067.
Feel free to snip off the posts and do it your own way but I'm going with
this positioning for simplicity--just this once. |
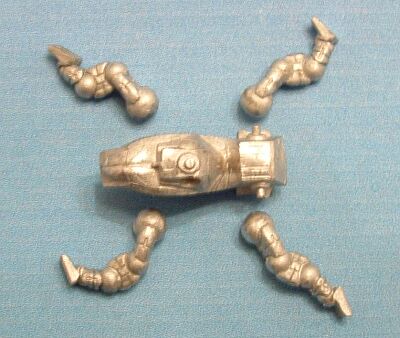 |
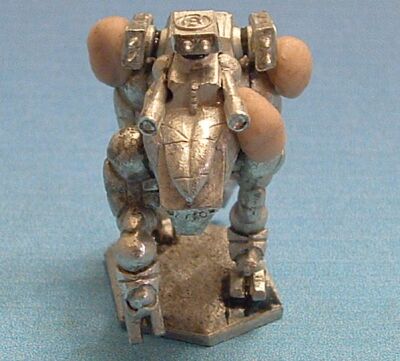
| When assembling most quads, I usually don't worry about the base until
later unless I need it temporarily for alignment. This mini is no exception.
The left front leg pretty much locked into the proper position thanks to
the alignment pin. Just apply the epoxy, angle the leg forward slightly,
fit it into the socket, and rotate it back. It should lock into the
position shown. (You may want to try that first without the epoxy
to get the feel of it.) Apply putty to hold it in position while
the epoxy cures for 15 minutes. |
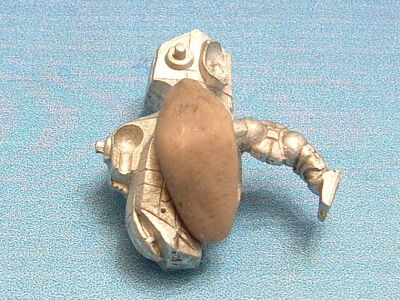 |
| The rear right leg wasn't quite as easy to lock in as the front left,
but it was still easy. Align the bottom of the foot so it is on a
parallel plane with the first foot. (They'll both sit flat on the tabletop.)
Add epoxy and putty it in place. Let cure for 30 minutes. |
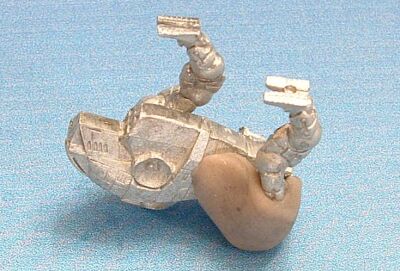 |
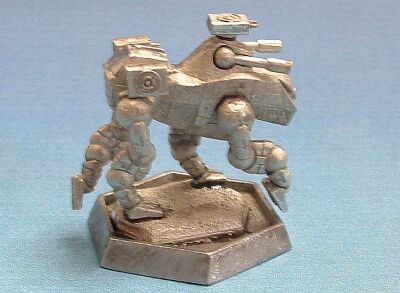
| Attach it to the base and balance with a paint bottle and putty.
Don't be afraid to use a little too much epoxy. You can clean it
up carefully with a toothpick before it fully cures. The feet won't necessarily
fit perfectly into the footprints, but they'll be close. I bent the
inside toe of each foot slightly downward using my smooth jaw forceps.
Let cure for 30 minutes. |
 |
| Epoxy the remaining legs in place. You can do one at a time allowing
15 minutes to cure, or both at the same time. Just don't rush it.
Use putty where necessary for support. |
 |
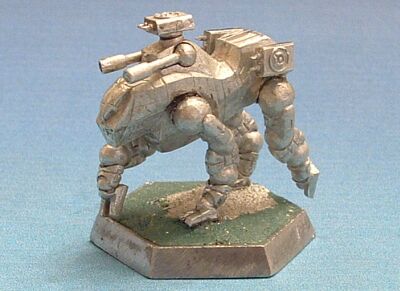
| Dry fit the laser barrels to find a position you like. They don't
have to ride tight in the channels. You can point them up and out
like antenna if you want. Attach as many missile pods and lasers
as you feel comfortable doing at one time. This isn't a race.
Again use the putty to hold each piece in position until the epoxy cures
for 15 minutes. |
 |
| Now it's time to attach the assembled mini to the base. I cut
the slightest bit (about 2 mm) off the back of the base. This goes
along with my seemingly insane philosophy of keeping miniatures "balanced"
on their bases. Sure the back leg hangs over a little, but so does
the front of the mini. This is opposed to the front hanging over
about twice what it is now. |
 |
| Fill the remainder of the base with your material of choice.
Once again I went with "green stuff" that I textured with sandpaper to
match the metal base. When the base has cured (or dried) it will
be scrubbed with white vinegar and them primed for painting. |
 |