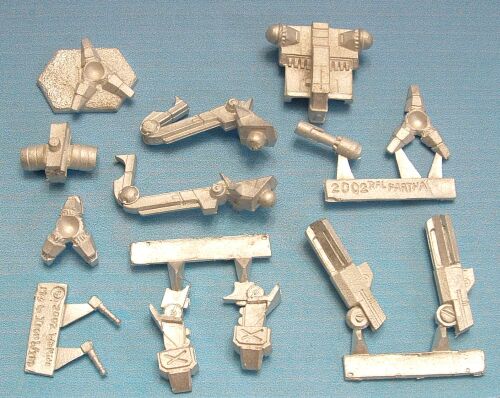
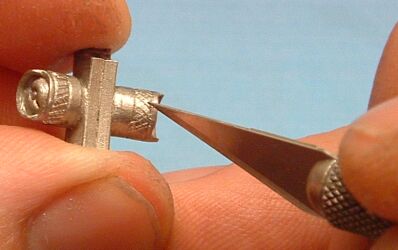
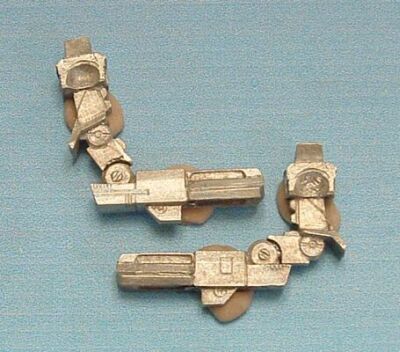
| Begin by preparing all parts for assembly. Cut them from the sprues,
clean up mold lines with the exacto and needle files. Score all joints
with the exacto knife--etch a criss-cross pattern into both sides of the
joint to help the epoxy bond. Scrub the parts with white vinegar
and a toothbrush to remove casting residue and grease/oils left by your
fingers. Let air dry. |
 |
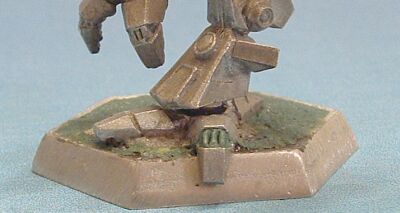
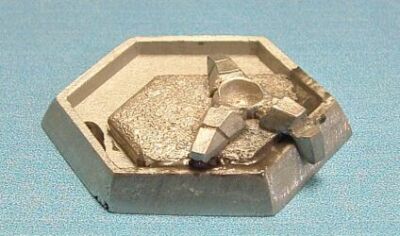
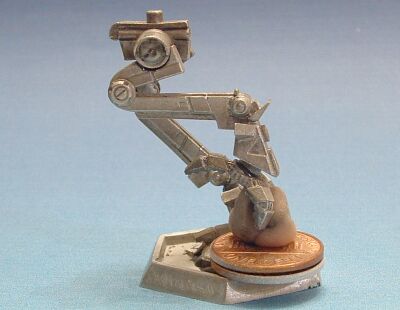
| Assembly should start with the base. Since there is an extra foot,
you have some options. Because of the size of the mini I chose to modify
the left foot so that it would sit further forward in the hexbase. Epoxy
the foot to the base and let cure for 15 minutes. |
 |
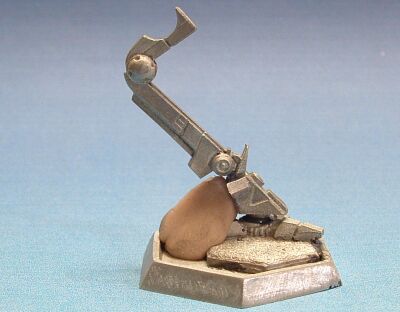
| Epoxy left leg in place and use putty to hold while it cures. Since
this is a crucial bond, I let it cure for over 30 minutes. There are plenty
of other parts to assemble while you wait. |
|
| Epoxy the hip assembly to left leg. Again use putty to hold it in place
and allow 30+ minutes to cure. |
|
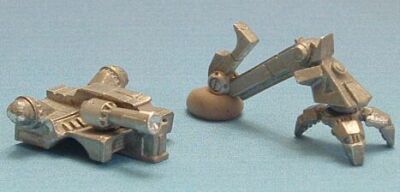
| These are some of the minor parts that you can assemble while the major
parts are curing. Epoxy the ERPPC to the torso and the right foot to right
leg. Use putty to hold the leg/foot in the position you like until it has
cured for 15 minutes. |
 |
| More "filler" parts to assemble while the main structure is curing.
Use putty to hold each arm part in position while the epoxy cures for 15
minutes. Take care when removing the arms from the putty, just in case
it sticks a bit. |
 |
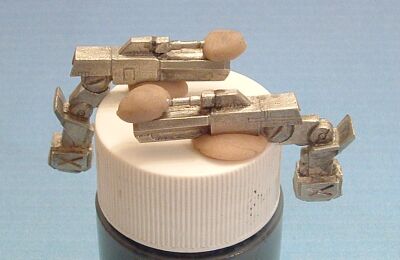
| Even more "filler" assembly. Since the arms were together, I stuck
them on a paint bottle so that gravity would help with attachment of the
ERML's. |
|
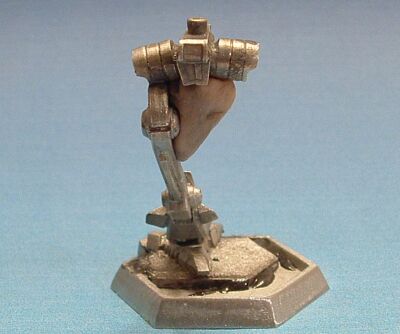
| Attach the completed right leg to the hip and left leg assembly. I
didn't have a large enough chunk of putty handy, so I used a couple of
pennies for spacers. |
|
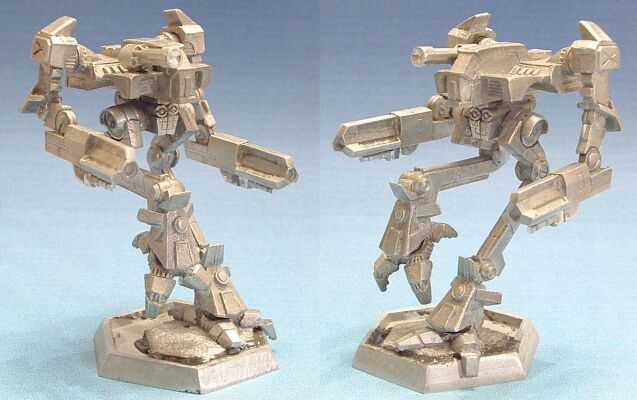
| Attach the upper torso to the lower torso assembly. |
|
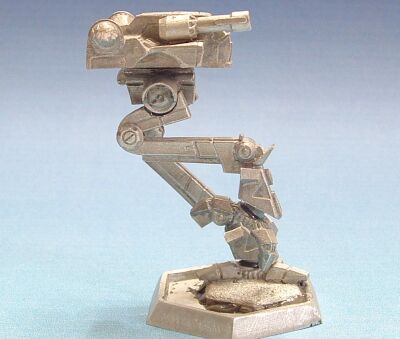
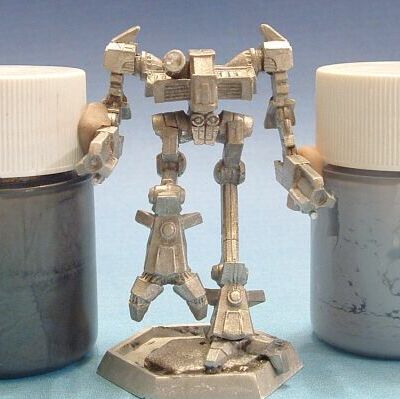
| Now you can attach the arms to the body. I stuck each to a bottle of
IWM paint for support. Doing it like this I was able to dry-fit the pieces
and get them positioned exactly as I wanted. Then I just slid them apart,
applied epoxy, and slid them back together. Allow 30+ minutes to cure because
this is an important joint as well. Since there are no more pieces to assemble,
do something else. Work on another mini, eat something, watch TV, or do
what I'm doing... typing up this tutorial and cropping the pictures. |
 |