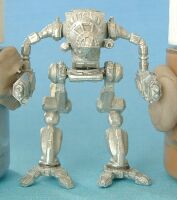
| Vulture |
(IWM #20-600RE)
|
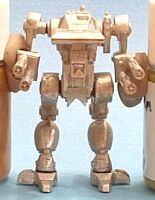
| Mad Cat |
(IWM #20-603RE)
|
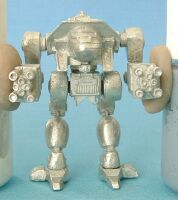
| Masakari |
(IWM #20-605RE)
|
| Daishi |
(IWM #20-607RE)
|
tools used-
|
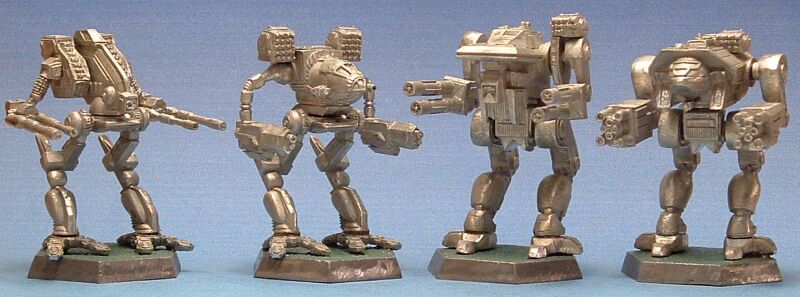
| Assembly of each new OmniMech resculpt is so similar to the others
that I'm going to tackle them all in one guide. Pictures are ordered the
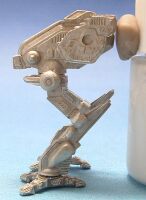
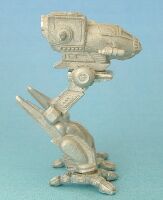
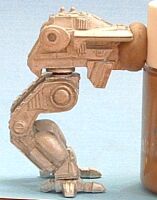
same unless noted. From left to right: Vulture, Mad Cat, Masakari,
Daishi. I was in such a rush to put these together that I didn't
take a picture of the unassembled parts. I hope to remedy that sooner
or later.
Assembly begins with removing the parts from their sprues, filing off
the flash, test fitting joints, and cleaning (cutting/filing) them as necessary.
When everything is ready to go together, give them a quick scrub with the
toothbrush and white vinegar to remove dust, oils, and casting residue.
Let dry and try not to touch any contact surfaces while you are working.
|
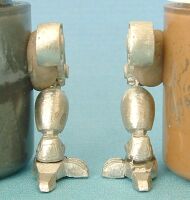
| Attach legs to feet. Make sure you have the angles set so that the hips are even on each set of legs. Use putty and supports to hold them in place while they dry for 15 to 20 minutes. |
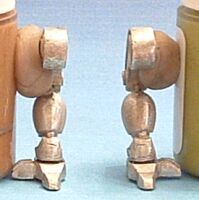
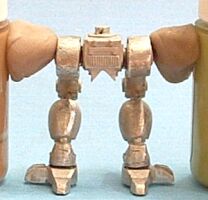
| Attach the legs to the lower torsos. Use putty if necessary to
keep the torso level. Let them set for 20 minutes.
You can carefully bend the Vulture and Mad Cat toes up or down to keep them flat on the ground if necessary. |
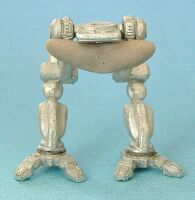
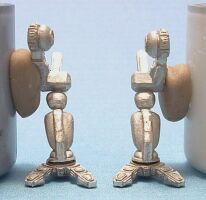
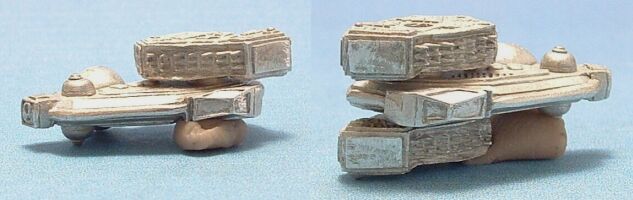
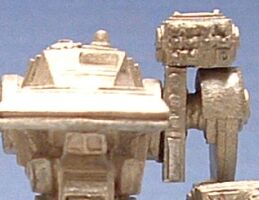
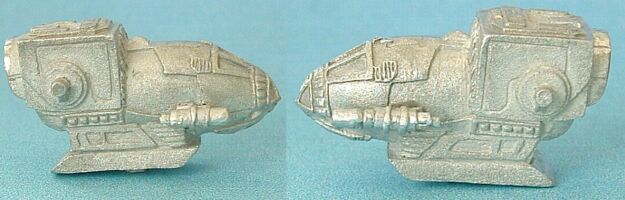
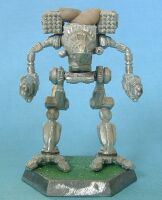
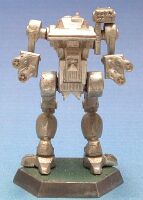
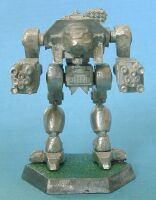
| Attach the torso bits. Pictures are a little out of normal order here. First row from left is Vulture then Masakari. Second row from left is Mad Cat then Daishi. For the Vulture, use putty to keep the torso level and let gravity hold the missile pods in place. I forgot to snap a pic of the Masakari's missile mount, so this will do for now. It is keyed so you will have a hard time putting it on wrong. Make sure you push it as far up as possible over the socket. This will help give the missile pod clearance over the arm. (Don't attach the missile pod yet!) The Mad Cat gets the laser on the left, and pod on the right. The chin-mounted laser on the Daishi is keyed to help you attach it correctly as well. Let them set for 15 minutes. |
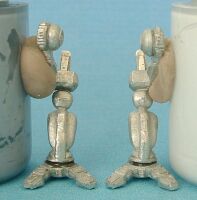
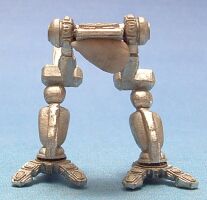
| Attach the upper torso to the legs/lower torso assembly. The Mad Cat balanced well enough on its own, but the others required support. Let them set for 30 minutes. |

| Test fit the arms to make sure they will line up the way you like. Do all the bending and tweaking BEFORE you apply any epoxy. Stick the arms to supports so that they hold in the desired position without epoxy. Slide the arms/supports apart, apply epoxy to the joints and slide the arms/supports back into place. While pressing down gently on the torso to steady it, you can put gentle pressure the shoulders with a toothpick to make sure they are set in fully. Don't be afraid to attach one arm at a time if doing both is a little too much to handle at once. |
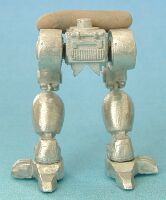
| Attach each to a base. You'll need a filled base for this. I used blue/yellow epoxy ribbon for mine but sprue bits and epoxy work well too. While the epoxy is curing on the feet, attach missile pods to the Mad Cat, Masakari, and Daishi. Use putty to hold in position if necessary. |
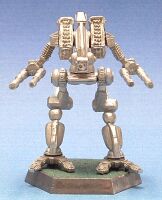
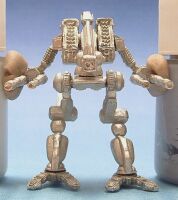
| Here's a final shot of the group before I clean them with vinegar and then prime for painting. I may go back with green stuff and full under the feet of the Mad Cat and Vulture to remove the gaps and to make the terrain look more rugged to match. I was never concerned with getting things perfectly even--just close enough--because it helps add character to the miniature when you paint and finish it. |
|
|
|