tools used-
|
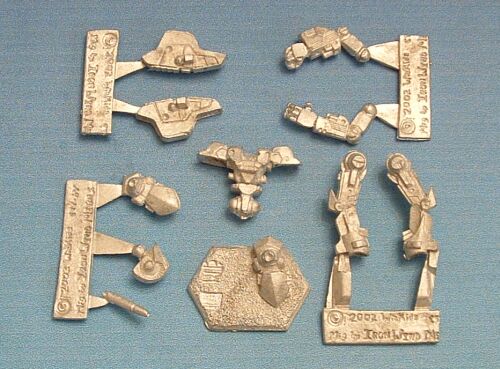
(11 individual pieces) Prepare all the parts by cutting/filing mold lines and removing them from the sprue. Test fit them and file them down as necessary. Score the ball and socket joints to give the epoxy a better surface to hold. Once all parts are ready for assembly, scrub them with the toothbrush and white vinegar to clean them. |
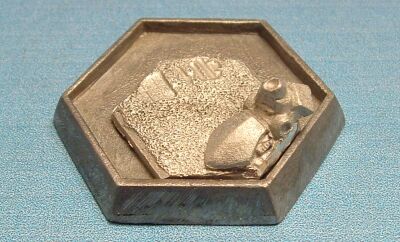
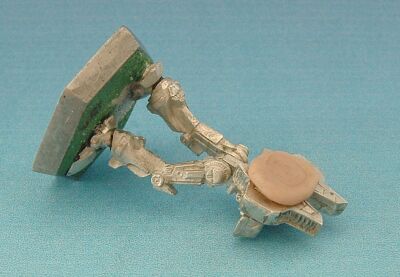
Rather than putting the loose foot in the footprint, I wanted to go for a little more dynamic pose with this one. In order to do that I trimmed the left side of the insert so that it was as close to the foot as possible. The angle was kept so that it fit tight in the edge of the base. The insert was then epoxied into position. | |
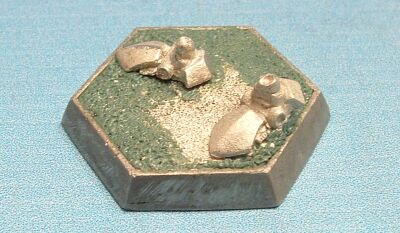
I needed to fill the base directly under the right foot's position for stability, so I filled and textured the entire base while I was at it. You do not have to attach the right foot at this time. I chose to because I knew exactly where it needed to be. | |
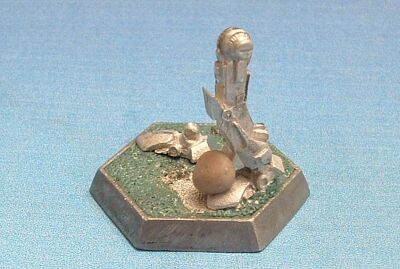
The left leg went on next. Putty was used to hold it while the epoxy cured. Dry fit the torso and right leg to be sure that the position is correct. The green stuff was still pretty soft so I left it to cure overnight in this position. | |
In my morning haze, I forgot to snap shots of a couple steps. Not a problem
though...
The torso was epoxied into position first, dry fitting the right leg to keep position correct. Holding it in place with putty, I let it cure for 30 minutes. While I was waiting I decided to attach the laser barrel to the right arm. I also separated the fingers of the left hand... just for fun. Once the torso was set I attached the right leg. It held its position on its own and did not require putty for support. |
|
The taller vents of the jump jets point upward and the two short studs rest on top of the shoulders. There is a socket just below the studs for alignment help as well. I let gravity and putty hold them in place while the epoxy cured. | |
Time for the arms. The right was aligned with the right foot and epoxied into place. | |
The left was offset slightly as sort of a counterbalance. | |
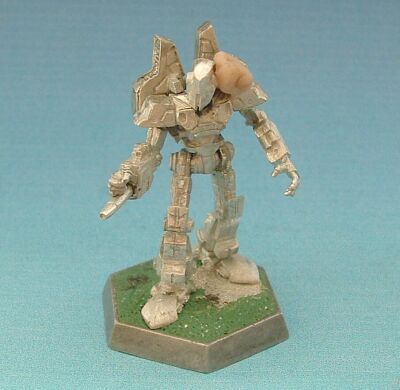
Aligning the head with the right arm and foot was the final step. | |
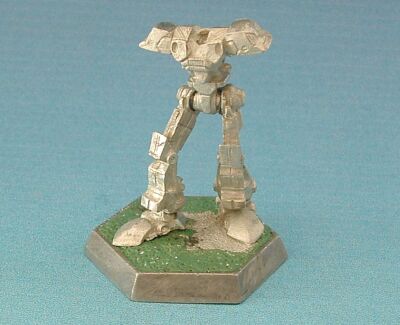
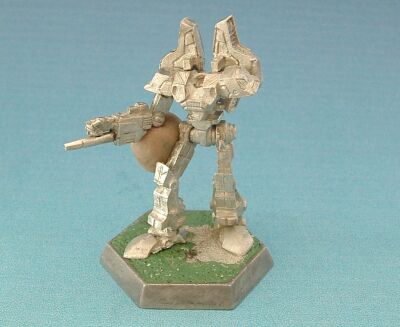
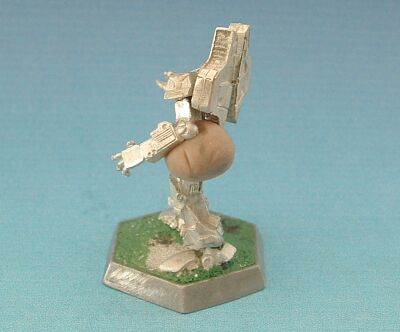
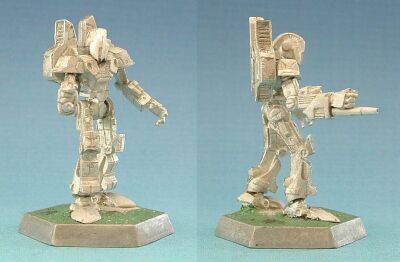
Here are front and right side views of the finished assembly. A good scrub with vinegar and it'll be ready for primer and paint. |
|
|