|
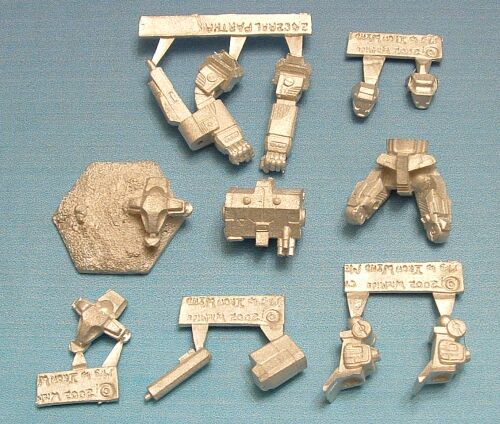
(12 total including optional head)
Begin by cleaning the flash/mold lines from the parts and removing them from their sprue. Score all joints and contact surfaces with your exacto knife, then scrub everything down with white vinegar. Let it air dry. |
 |
tools used-
|
|
(12 total including optional head)
Begin by cleaning the flash/mold lines from the parts and removing them from their sprue. Score all joints and contact surfaces with your exacto knife, then scrub everything down with white vinegar. Let it air dry. |
|
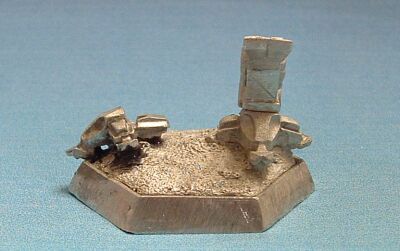
| The base insert will need a little work to fit inside of a standard hexbase. This is one of the older Ral Partha bases. I have noticed that the newer IWM bases are slightly smaller on the inside (you only notice at times like this). Test fit the insert and file or cut down edges as necessary. Try to trim them evenly, working with two or three edges at a time. | 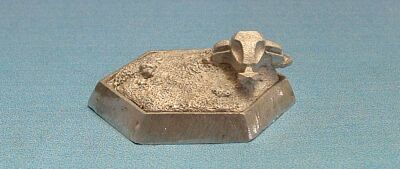 |
| Epoxy the left lower leg onto the foot. I rested the armor on top of the foot and it balanced well enough that I did not need putty to hold it. Let it cure for 30 minutes. | 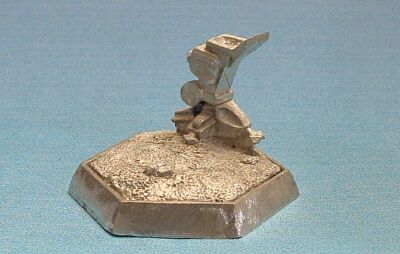 |
| While the lower leg was curing I went ahead with assembly of the upper torso. I chose the head sans "roll cage" because my 'Mechwarrior doesn't want to give enemy Battle Armor any help with swarming the cockpit. I kept the torso balanced on a paint jar evenly so that the head and LRM pack could hold on their own. | 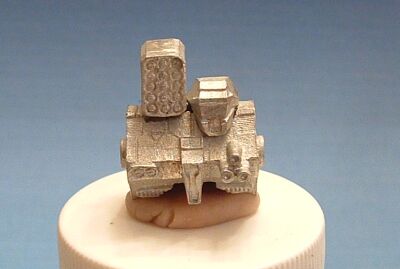 |
| I also chose to make a minor cosmetic modification to the left arm. The straight pose doesn't work well (for me) with the dynamic pose the mini will be placed in. Cut through the back of the elbow a little over halfway. Then gently bend the arm a little bit. I will fill the gap with epoxy later, when I have extra mixed from one of the other steps. | 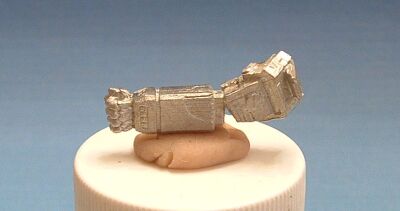 |
| Dry fit the lower torso, right leg, and foot to find a good position
for the foot. It may take a bit to hold all those pieces by hand,
but as long as you get close there is room to tweak.
Epoxy the right foot in the position that you determined and let cure for 15 minutes or so. |
 |
| Attach the right lower leg in the position you determined above and hold in place with putty. The slow cure time of my epoxy allowed me to test fit the lower torso and make minor adjustments with the lower leg. Allow 30 minutes to cure. | 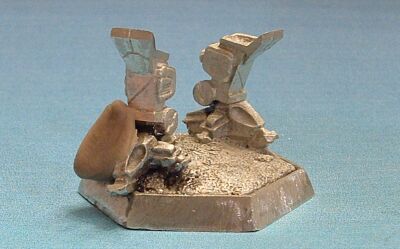 |
| I mixed a little extra epoxy in that last step so I moved on to some "filler" pieces. Attach the light gauss barrel and hold in place with putty. You may also want to hold the entire arm with a larger piece of putty. | 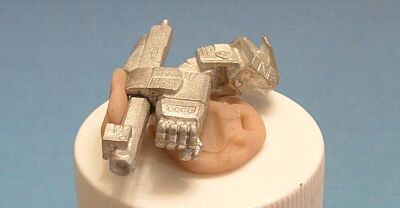 |
| Still more epoxy left over, so I filled the gap in the left elbow. When it cured for 30 minutes I went back to cut and file it to shape. |  |
| Put a glob of epoxy on top of each lower leg and set the torso in position. Hold it there with putty and a paint bottle. If there is excess epoxy oozing out of the joints, gently scrape it off with a toothpick while it sets. Be careful not to move the lower legs or torso. I have this an hour to cure for good measure. | 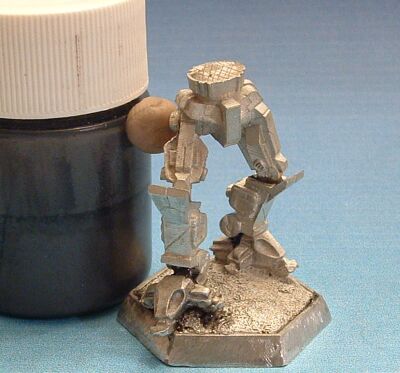 |
| Attach the upper torso. It shouldn't move, but if it gives you any trouble hold it in place with putty. | 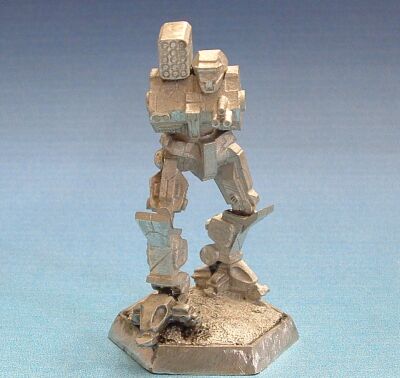 |
| Arms are stuck to paint bottles and dry fit to get the positions right. I didn't want the light gauss barrel and right arm sticking way out in front of the hexbase so I pointed it down. Slide the bottles out, apply epoxy to the sockets, and slide the arms back in. Allow at least 30 minutes to cure. Since this was my last step for the night, I let it all cure overnight. | 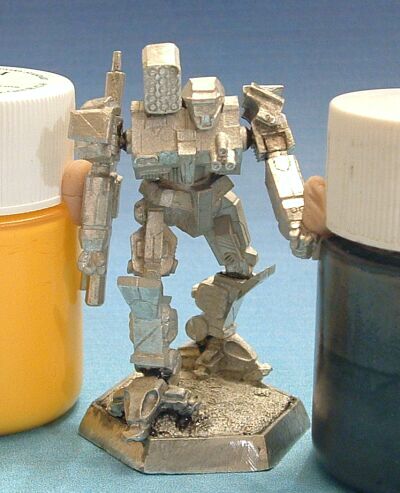 |
| Here's the finished assembly. A final scrub with white vinegar is due before priming and painting. | 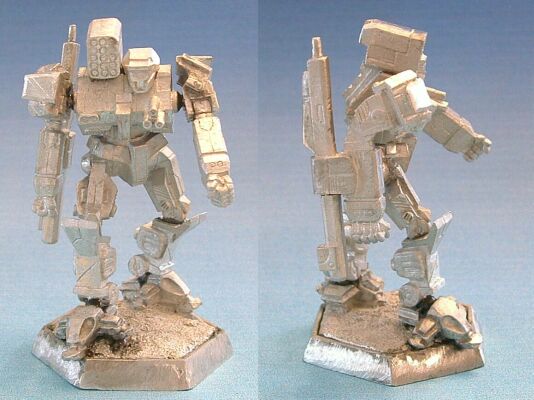 |
|
|
|