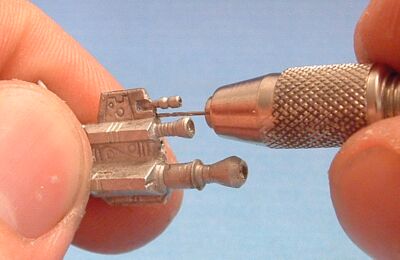
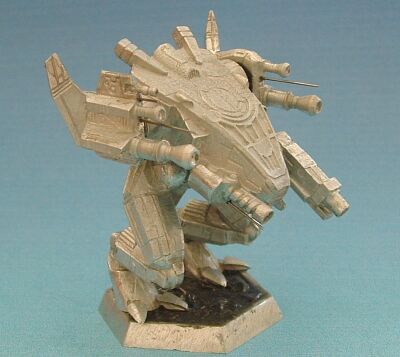
| Look at the TRO picture(s) and decide on the antenna location(s).
Carefully drill a 2-3mm deep hole for each using the pin vise and bit. |
 |
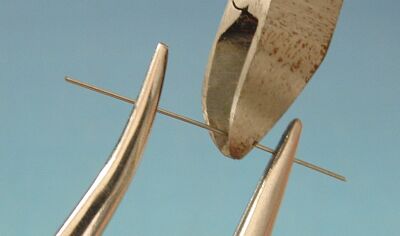
| Put a piece of wire into the hole and estimate the necessary length.
Put a clamp on each end of the wire, shield your eyes (if not wearing safety
glasses), and cut the wire. Trust me on the eye protection bit.
I've had a couple of close calls even when I thought I was being careful.
Cutting wire makes for some nasty projectiles. |
 |
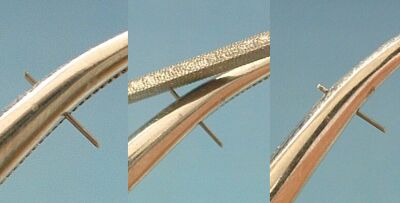
| Decide which end of the wire will be exposed and file it as round as
possible. This isn't so somebody doesn't get stabbed when man-handling
your mini, because they still will. This is so that it doesn't catch
primer and paint funny. |
 |
| Place all wires into their respective holes and make sure you like
the lengths. Mix some epoxy, grab the wires one at a time, and dip
the tip, inserting each back into its hole. Use gravity or putty
as necessary to keep proper alignment. |
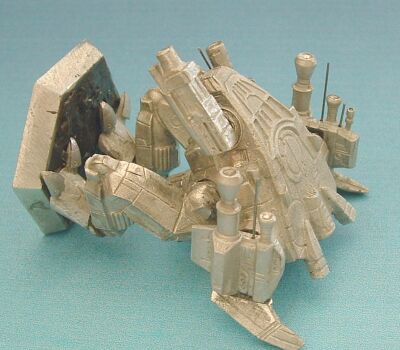 |
| Give them a good 30 minutes to cure then clean up around the hole a
bit with an exacto. Now you're set to go! |
 |