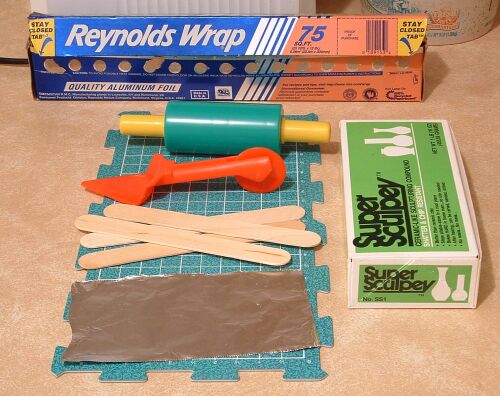
| Start by kneading a golf ball sized glob of Sculpey. Put it on
a piece of foil and flatten it out in a somewhat rectangular shape. Don't
make it too thin... keep it at least twice as thick as you want the finished
base. |
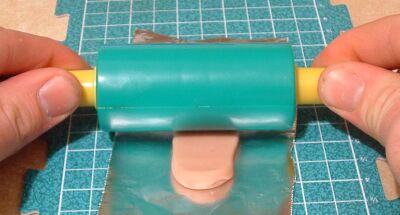 |
| Make two stacks of craft sticks the same height you want the base.
(I chose two sticks tall.) Place a stack on each side of the Sculpey,
narrow enough that the rolling pin will stay on them. These will
be spacers so that you get a very flat and even base. Flatten the
putty a little from left to right with the rolling pin and then switch
to up and down... |
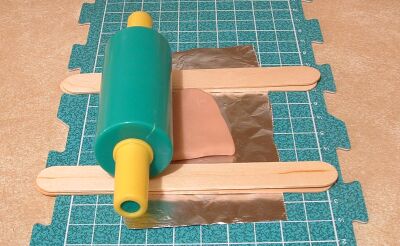 |
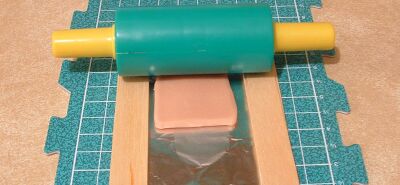
| It's the best way to make sure the Sculpey stays long enough and wide
enough. You don't know how large you want the base? Why didn't
you say so? |
 |
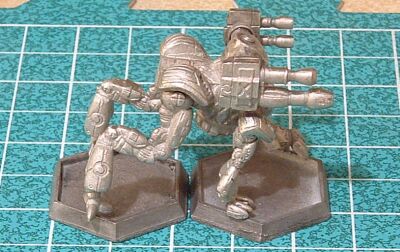
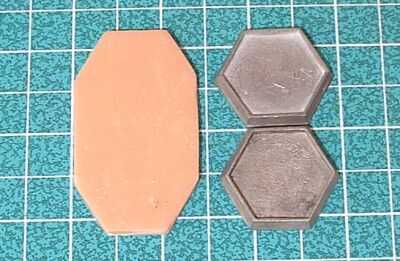
| Take the mini to be based and measure it out against a pair of hex
bases. This one will be exactly two bases in length. |
 |
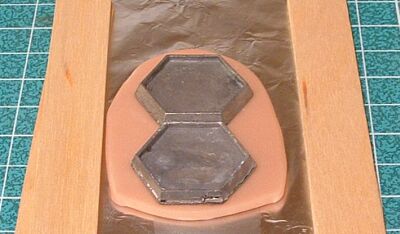
| Lay the hex bases on top of the Sculpey to check the size. Repeat the
first three steps if it is too small. |
 |
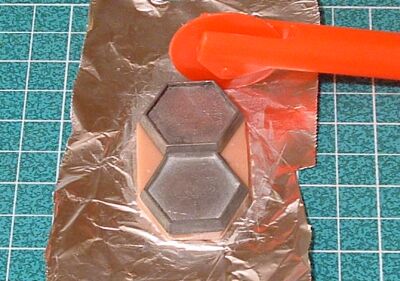
| Cut around the ends of the bases and in a straight line up the sides.
Use a craft stick as a ruler if you need. Put the scrap Sculpey back
into its box. |
 |
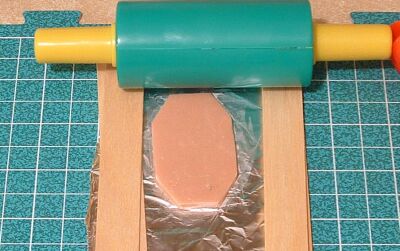
| The edges may have bulged up a bit. Use the spacers and rolling
pin to smooth them out again. Distortion should be minimal but double
check with the metal hex bases and clean them up as necessary. |
|
| Slide the foil and Sculpey base into a pan (I used a glass pan) and
bake according to the instructions on the box. When done, pull it
out and let cool completely. If you pull the foil off too soon it
will most likely distort the base. |
 |
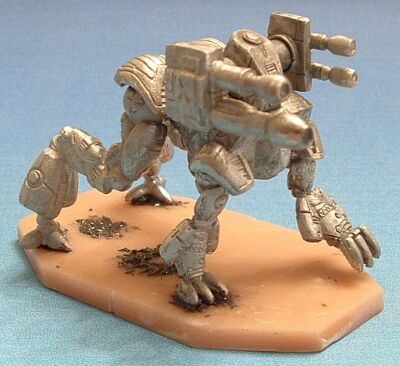
| When ready to attach the mini, score and clean the base with white
vinegar as you would any other metal joint. |
 |
