Assembling the BSN-3K Bishamon Miniature  (IWM #20-636)


tools used-
  • exacto knife
  • needle files
  • putty
  • JB Weld (JB Kwik) epoxy
  • toothpick (for mixing and applying epoxy)
  • vinegar
  • toothbrush
  • pennies

 
Here are the contents of the blister:

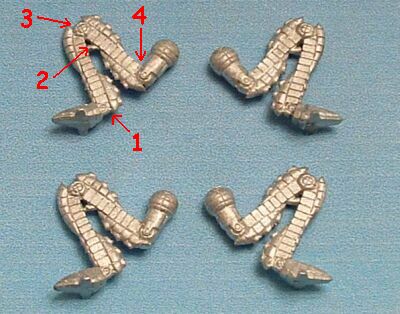
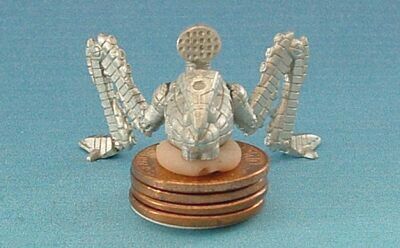
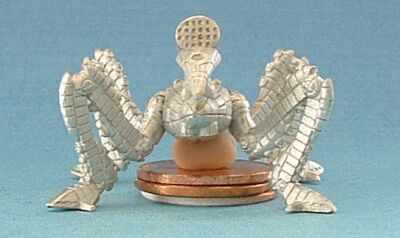
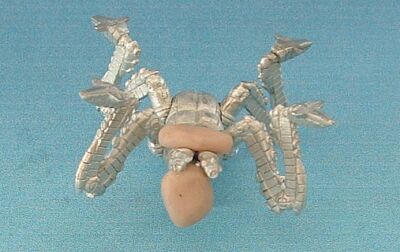
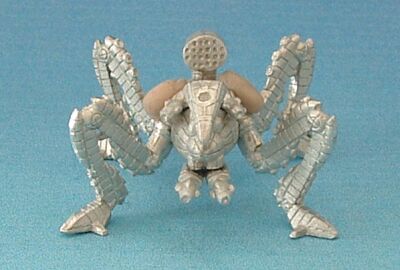
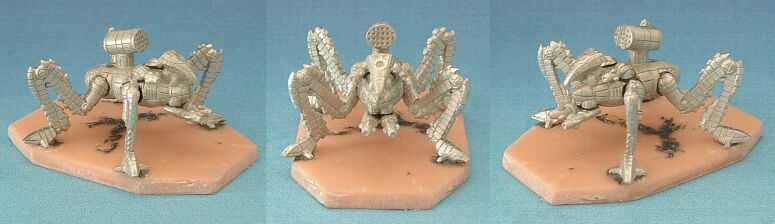
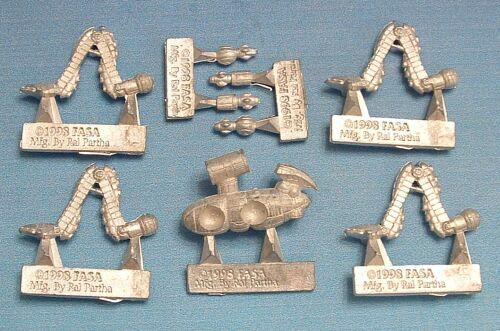
(14 individual pieces)


Prepare all the parts by cutting/filing mold lines and removing them from the sprue.  Test fit all parts and file them down as necessary.  Score the ball and socket joints to give the epoxy a better surface to hold.  Once all parts are ready for assembly, scrub them with the toothbrush and white vinegar to clean them. 

Right off the bat I decided that I was going to modify the legs.  I wanted the overall "footprint" of the mini to be smaller than it normally would be.  This modification is optional and does not change the remainder of the assembly procedure.

1)  Slowly and carefully bend each foot up at the ankle.

2)  Remove the smaller diameter portion of the piston below the knees.

3)  Slowly and carefully bend the legs together at the knees until the remaining portion of the piston contacts the lower leg.

4)  Cut a small wedge into this joint with your exacto and bend the hip side of the leg slightly upward (toward the knee).

Using pennies and a glob of putty as spacers, set the body into position so that the legs fit the hips while the feet rest flat on the ground.  Make sure that all four legs fit evenly.  Epoxy the rear legs and allow 30 minutes to cure.
I had to remove a couple pennies and add a larger glob of putty to get the front legs in.  Epoxy them into position and allow 30 minutes to cure.
Belly lasers were next.  I used putty and gravity to hold them in position while the epoxy cured for 15 minutes.
Same thing for the back lasers and assembly is finished.

 
Even with the reduced legs this will not fit on a standard hexbase.  I created my own out of Super Sculpey using this procedure.


Main Page
Assembly Index