|
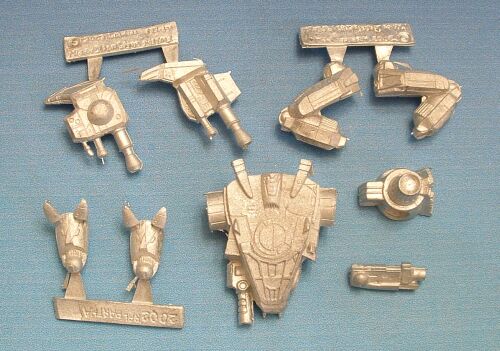
(nine pieces)
Begin by preparing all parts for assembly. Cut them from the sprue, clean up mold lines with the exacto and needle files. Score all joints with the exacto knife. When finished, scrub the parts with the white vinegar and toothbrush. |
 |
tools used-
|
|
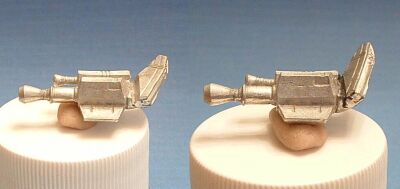
(nine pieces)
Begin by preparing all parts for assembly. Cut them from the sprue, clean up mold lines with the exacto and needle files. Score all joints with the exacto knife. When finished, scrub the parts with the white vinegar and toothbrush. |
|
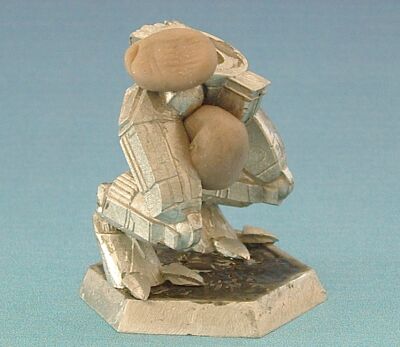
| First rule of assembly is a stable base. But no base insert?!? Wrong. I see three inserts in the parts photo above. And I have a ton of the stuff left over from other minis. Normally I'd just fill the base with green stuff epoxy putty, but it's good to share other options. Cut the sprue bits with a wire cutter so they fit fairly tight in the base. Spread some epoxy inside the base and press the sprue on top. I had plenty of epoxy oozing out so I spread it over the top as well to help fill the gaps. Does it have to be perfectly textured now? No... stay tuned. | 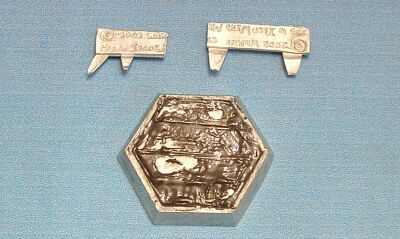 |
| Dry fit the legs and lower torso so you know where you want the feet. Epoxy them in place. Putty may be necessary to hold because the feet are on their toes. Allow at least 30 minutes to cure. | 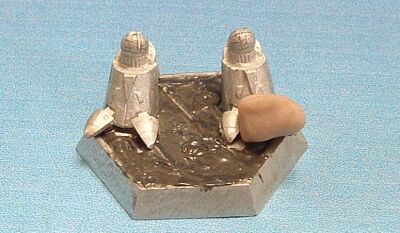 |
| Here's one of those "filler" steps--base texture. During the assembly process (if using epoxy) you will most likely end up with left-over mixture. Use this to start texturing the base. Make it rough, smooth, or whatever. Unless you have a plan for those lines, you'll want to cover them. | 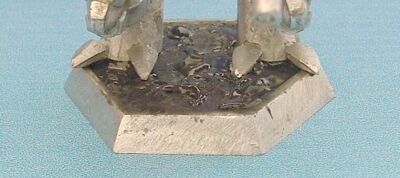 |
| Another "filler" step involves the left arm. Notice there's a
wedge at the base of the fin and that the fin is flattened more than the
right arm? Looks like there were problems with the mold and the bent
fin. IWM cut a little groove along the base of the fin so it would
be easy for you to bend it properly. I see a lot of minis out there
where the owner apparently did not notice this.
When you've got a bit of extra epoxy, put a light coat in the groove and bend the fin to match the right arm. |
 |
| Once the feet have cured, dry fit both legs and the lower torso to line them up. Epoxy the left leg into position--only at the ankle--and use putty to hold it. Allow at least another 30 minutes for curing. | 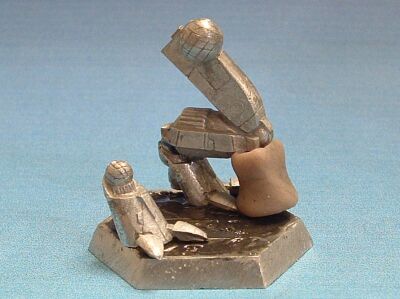 |
| Dry fit the lower torso and right leg. I want the upper torso angled down, so I have to angle the lower torso down here. Epoxy the left hip and use putty to secure it while curing. Allow a minimum of 30 minutes. | 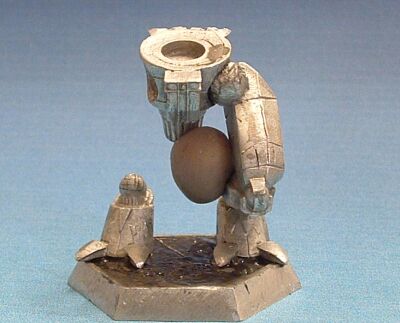 |
| Now, while you are waiting, is a good time to line up and attach that left torso PPC. | 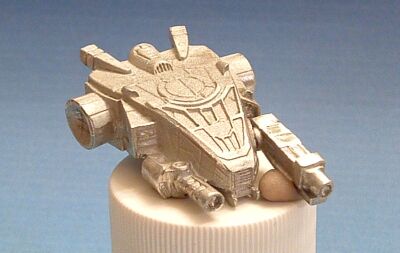 |
| Attach the right leg at both the ankle and hip. Secure with putty
and allow at least 30 minutes to cure. This was a good stopping point
for me, so I left it overnight. The additional time for the epoxy
to cure really helps with the structural strenght of the lower body.
If it's not bed-time yet, now is a great time to drill holes for the antenna. Only drill. Don't attach. You don't want to be brushing up against them for the rest of the process. |
 |
| Attach the upper torso and allow 15 minutes to cure. | 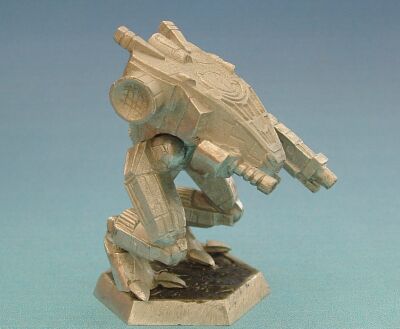 |
| Using the paint bottles and putty for support, dry fit and position the arms as you like. Slide the bottles out, apply epoxy to the sockets, and slide the bottles back in. Allow about 30 minutes to cure. | 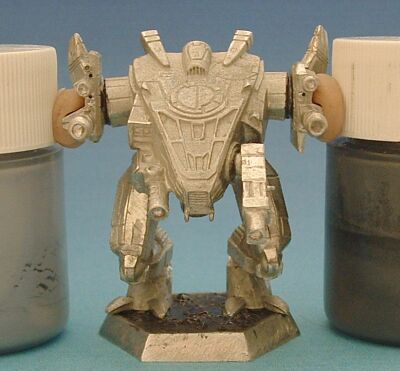 |
| Finish off the antenna and it's ready for the painting line. | 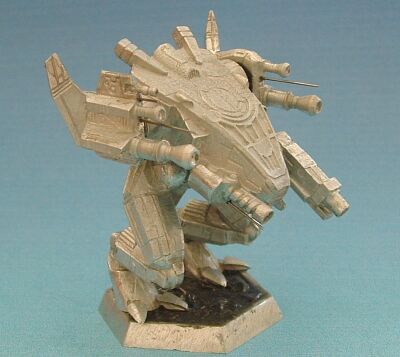 |
|
|
|