Assembling the WHF-3B White Flame Miniature  (IWM #20-230)


tools used-
  • exacto knife
  • needle files
  • Sculpey III (or any other putty/clay) 
  • JB Weld (or JB Kwik) epoxy
  • toothpick (for mixing and applying epoxy) 
  • white vinegar 
  • toothbrush
  • paint bottles (for support structures) 
  • pennies (also for support)
  • custom hexbase procedure

 
Here are the contents of the blister:

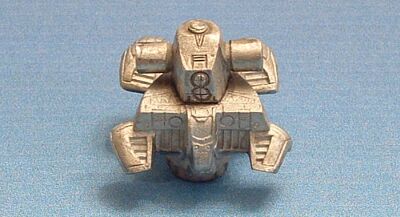
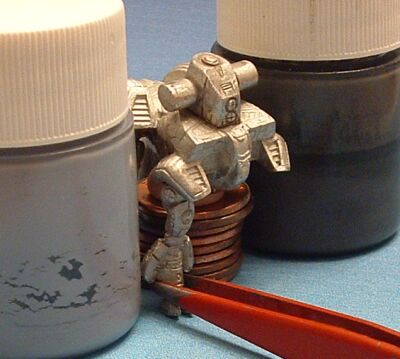
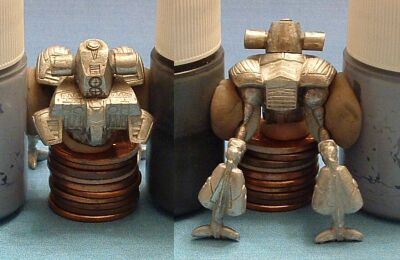
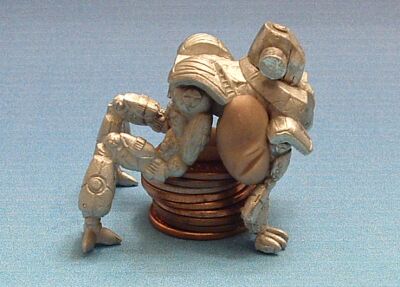
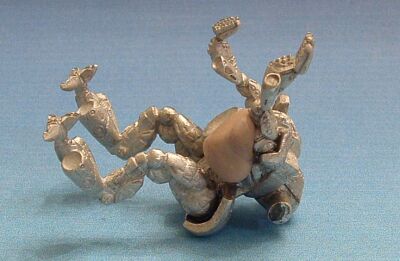
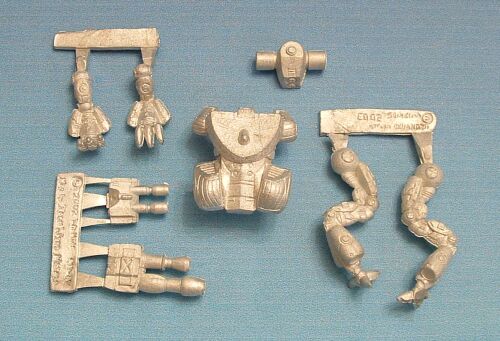
(8 individual pieces)

Prepare all the parts by cutting/filing mold lines and removing them from the sprue.  Test fit them and file them down as necessary.  Score contact surfaces of the ball and socket joints on the legs to give the epoxy a better surface to hold.  Once all parts are ready for assembly, scrub them with the toothbrush and white vinegar to clean them. 

Due to the taper of the torso and my fat fingers, I thought I was going to have a tough time holding the torso while not touching the hip sockets.  What better to use for a handle than the turret assembly (minus guns)?  Let the epoxy cure for 20 minutes.
Now for the fun part... aligning all the legs.  Well, three of them really matter anyway.  The fourth will be raised off the ground.  This will take a bit of patience unless you don't really care what the pose looks like when you're done.  Unless you go to extremes bending the rear legs the body will be tilted forward.  So that it wasn't tilted too far, I bent the left rear foot (slowly with my fingers) until it matched the angle of the right rear foot.  It didn't take much and now the rear legs mirror each other (bottom).

Stack pennies and a small glob of putty under the torso until it aligns with the three supporting legs.  Dry fit them all keeping the foot flat on your work surface.  Nine pennies gave me roughly  the height I wanted.  Putty added the fine adjustment and also held the proper angle.  Bottles are to support the rear legs during dry fitting.  (I only have so many hands ya know.)

Once the torso and three legs match up, epoxy only the rear legs.  As long as you don't disturb the putty you can move the pieces around as necessary.  Allow 30 minutes to cure.


This is where you get to make up for being a millimeter off in alignment.  Shift the torso forward on the pennies to give plenty of room for setting up the right front leg.  Adjust the height if necessary to get a good fit.  Epoxy the leg in place and hold with more putty.  Allow 20 minutes to cure.
Roll the mini onto its back.  It will sit there nicely enough.  Epoxy the front left leg into place and hold at the desired angle with putty.  Allow 20 minutes to cure.
Since I was using the turret as a handle, I scrubbed the contact areas with vinegar again to remove the sweat and oils left by my hands.

Attach the guns and hold in place with putty until the epoxy has cured for 20 minutes.  (The penny is there to balance the mini so that I could get the barrels even with the ground.)


A somewhat unfortunate feature of many quad miniatures is the size of their overall "footprint."  They can be too large to fit on a normal hexbase.  The White Flame is one of those so I made up a custom base for it.  This base is made out of Sculpey since it was so close at hand.  I set the mini in place (without epoxy) and scratched around each foot with my exacto.  After removing the mini I scored the areas I just outlined then scrubbed the base with vinegar to clean it up.  I purposely overkilled on the application of epoxy, scraped off the extra using the toothpick, and used it to add some minor detail to the base.  Looking at the pictures now though, I think the White Flame took a crap on the base.  Primer and paint will cure that... unless I'm feeling inspired.


Main Page
Assembly Index